How To Import Castalia Packages In Omnet++
To Import Castalia Packages in Omnet++ tool , we will explain about itin this page Castalia serves as a network simulator tailored for Wireless Sensor Networks (WSNs), Body Area Networks (BANs), and other low-power embedded device networks. As an extension of the OMNeT++ simulation framework, it offers a realistic simulation environment by effectively modeling wireless communication, encompassing aspects such as radio propagation and node mobility. A notable advantage of Castalia is its comprehensive modelling of physical processes and sensor data, rendering it particularly effective for simulating scenarios where environmental interactions play a vital role, such as in health monitoring systems or environmental monitoring applications. Additionally, it incorporates models for energy consumption, which are essential for assessing the performance and longevity of sensor networks. Castalia is extensively utilized in academic research for the development and testing of algorithms, protocols, and applications related to WSNs and BANs. Get a hassle free installation support by contacting our omnet-manual.com.
Installation of Result Filter and Result Recorder Framework are listed below.
PRE-REQUISITES:
- Fresh installation of Windows 10:
Screenshot:
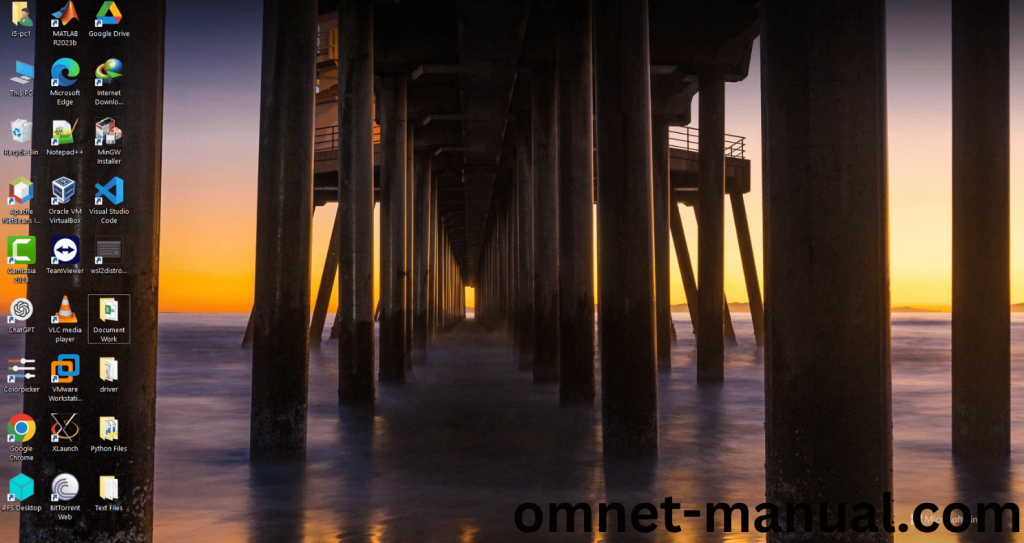
2.OMNET++ 4.2 Installation:
Screenshot:

Framework importation:
- Open the OMNET++ IDE:
Screenshot:
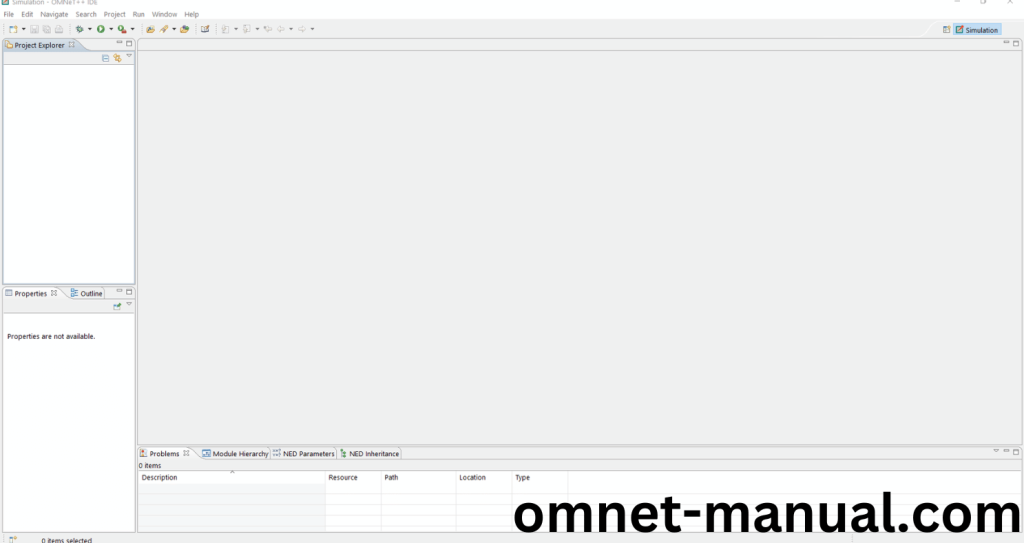
2.Download the Castalia Framework:
Next, we need to download the INET Framework version 3.3 from the below link.
Link: https://github.com/boulis/Castalia/archive/refs/tags/3.3.tar.gz
Screenshot:

3.Extraction of Castalia Framework:
Next, we need to extract the Castalia files in Omnet++ directory under sample1 folder.
Screenshot:

4.Import Framework in Omnet++:
Next, we need to import the Castalia Framework in the OMNET++ IDE. First of all, Click File button at the top of the Omnet++ IDE, you can see the New Option in the File Dialog and Click the OMNeT++ Project.
Screenshot:

Then Type Name as castaliaTest for Project Name and Finally Click Next Button to proceed to next process.
Screenshot:
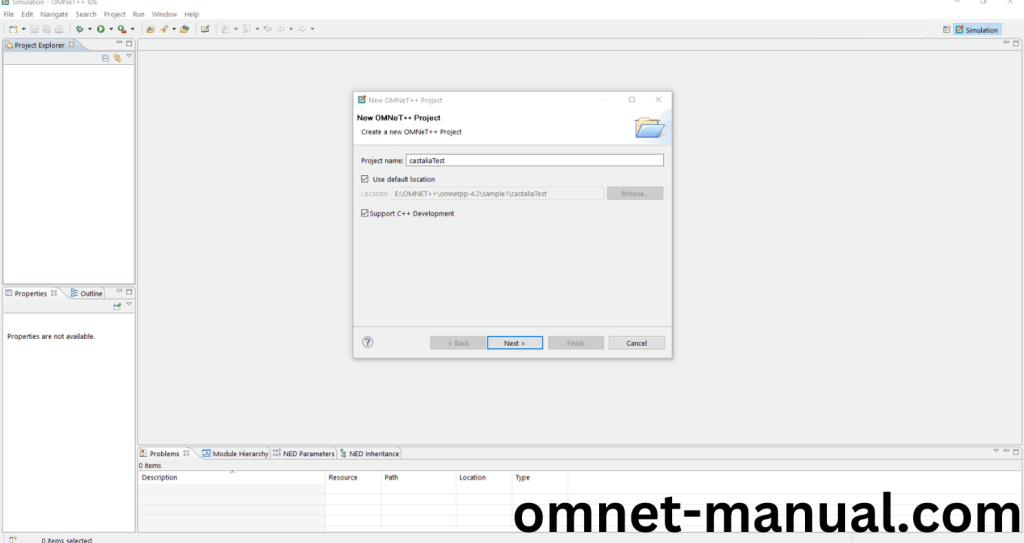
Here we need to select the Empty project and click Finish Button.
Screenshot:
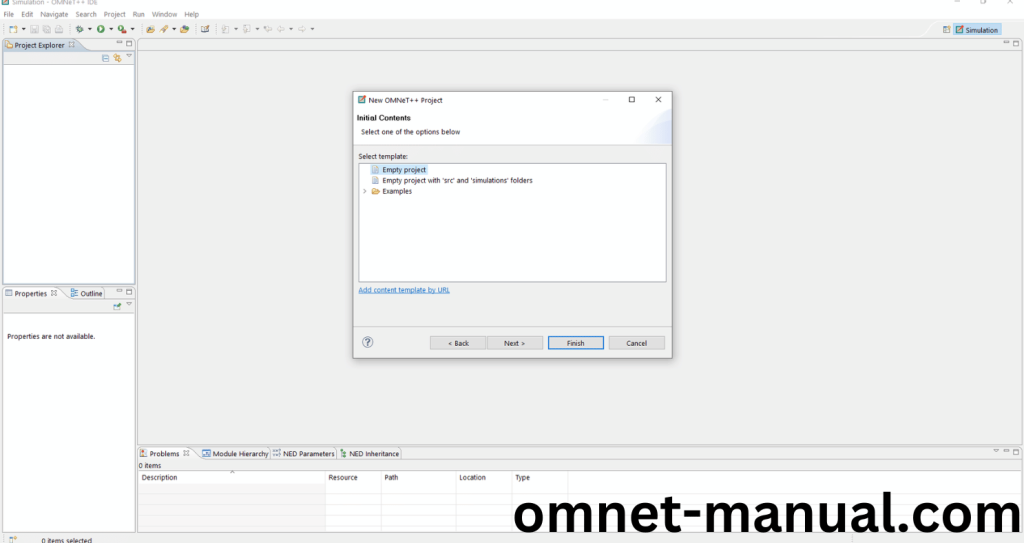
Screenshot:
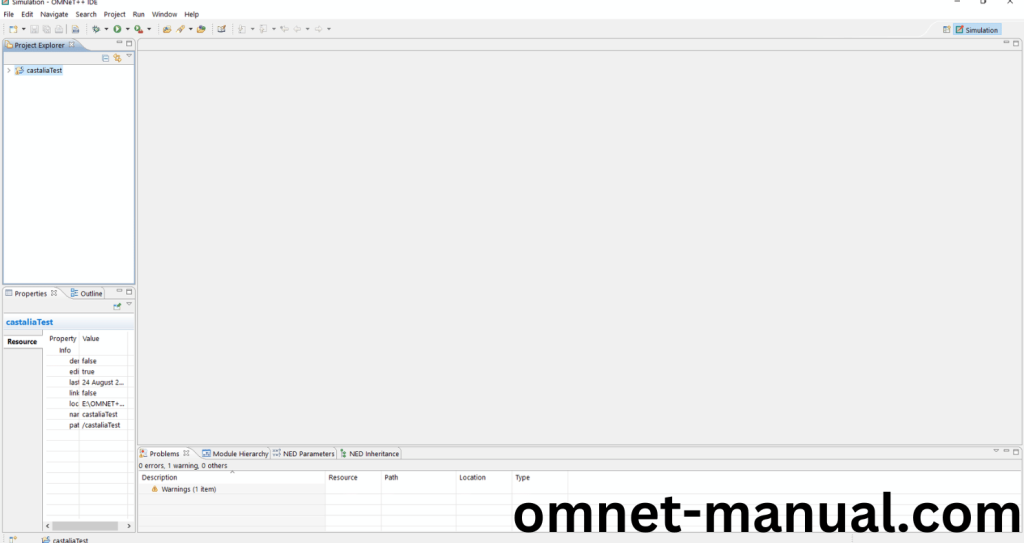
Next, we need to import the Castalia 3.3 directory in the created project Folder so Right click the created folder and click import Button.
Screenshot:
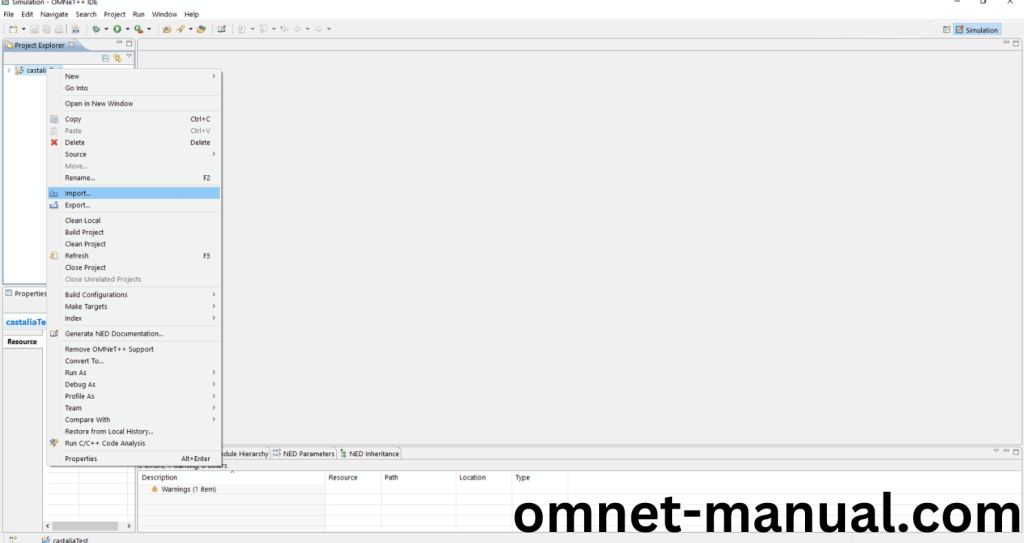
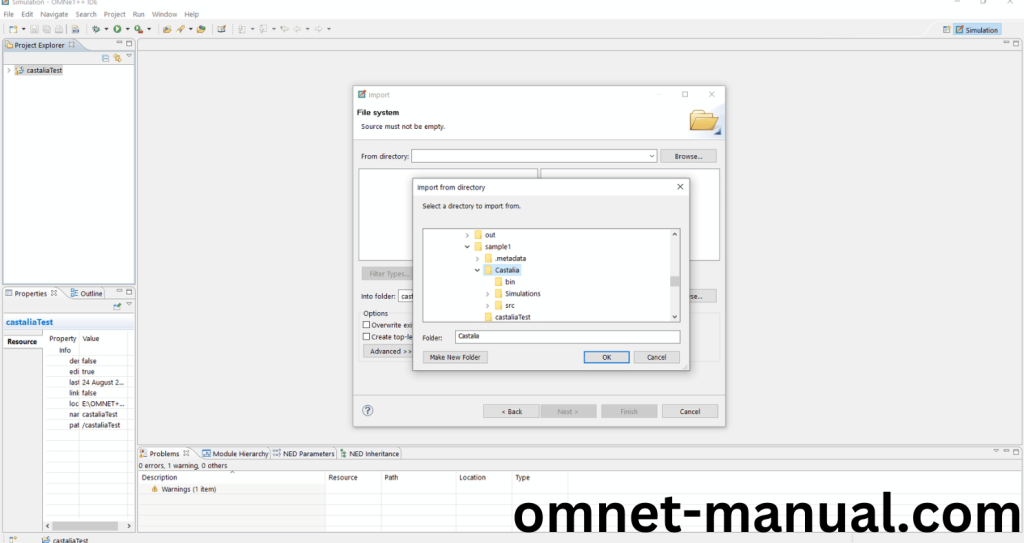
Next, we need to import the Castalia 3.3 directory in the created project Folder so Right click the created folder and click import Button and click General è File System è Click Next and Click Browse and search for your Castalia-3.3 directory and click OK and finally click Select All.
Screenshot:
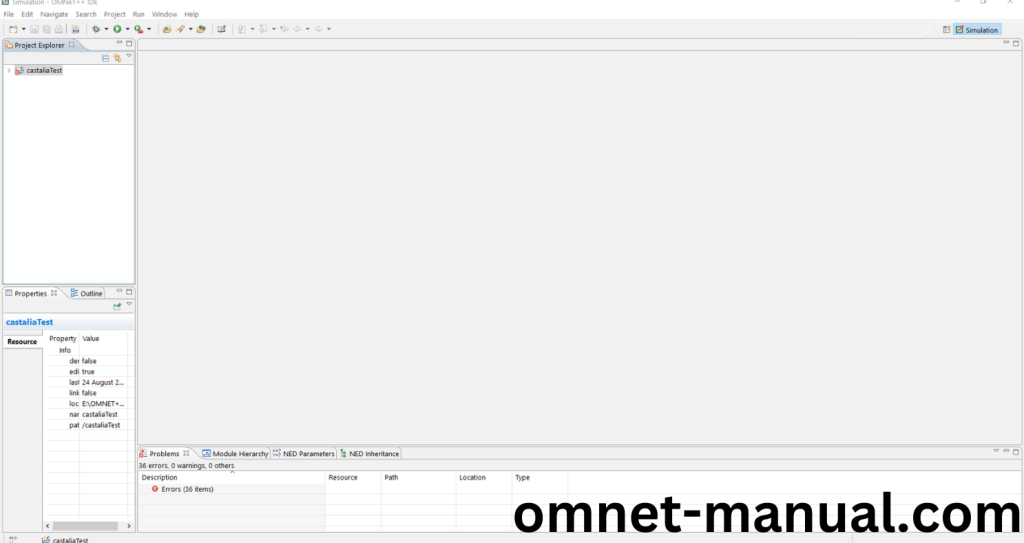
You should now see the directory hierarchy under the project castaliaTest.
Screenshot:
Right click above the project name (castaliaTest) -> Properties.
Screenshot:

In the emerging window, expand OMNeT++ on the left side menu, and then select “NED Source Folders”. Expand the project name and mark “Simulations” and “src” directories as NED Source Folders. Click OK.
Screenshot:

Again in the IDE main view, navigate into the project (castaliaTest) -> src. Double click on SensorNetwork.ned and files. Select the “source” tab and add “.*” to the three import lines. Save the file.
SensorNetwork.ned Code:
import wirelessChannel.*;
import physicalProcess.*;
import node.*;

Now open src -> node -> Node.ned file and go to source tab. Add “.*” at the end of the import mobility manager line. Save the file.
Node.ned Code:
import node.mobilityManager.*;
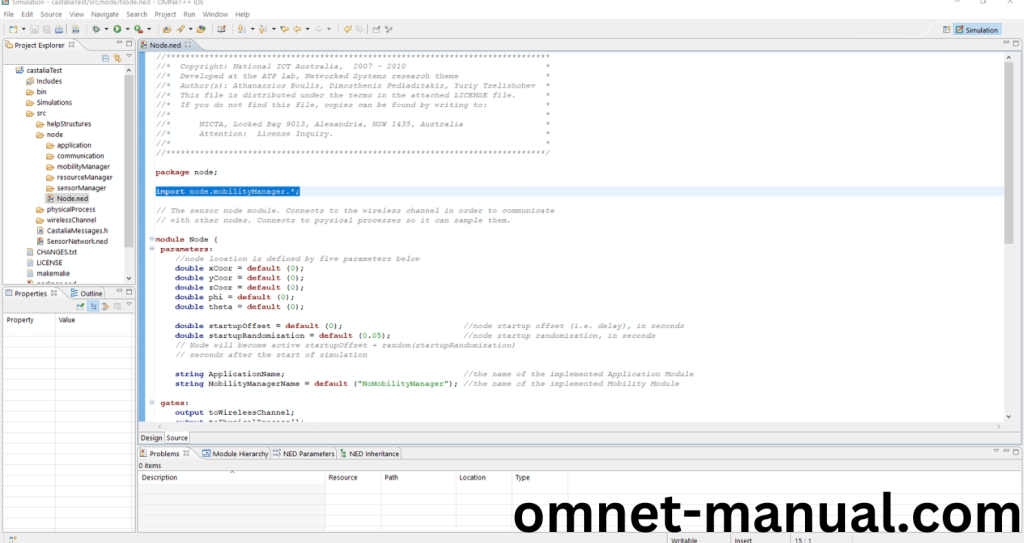
Here, you can see the Castalia Framework Imported Successfully in the OMNET++ IDE
5.Castalia Building Process:
Next, we need to build the Castalia folder to make Castalia Framework to work in the OMNET++ 4.2 IDE. Right Click the Castalia folder and Click the Build Project Option to build the Castalia Framework.
Screenshot:
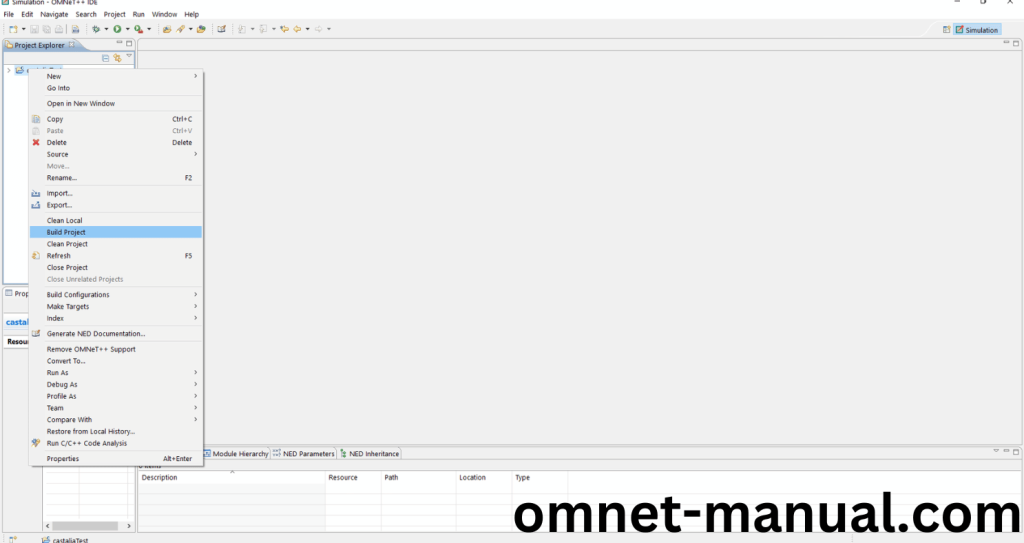
Screenshot:

Here, We shown the Castalia Building Process.
Screenshot:

Screenshot:

Here We successfully built and imported the Castalia Framework in the OMNET++ IDE.
6.Executing the Example Castalia Framework Program:
Then we need to run the Example Castalia Framework program to view output of the program. Firstly, we need to locate to the “/castaliaTest/Simulations/radioTest” to find the example program in the Castalia Folder.
Screenshot:
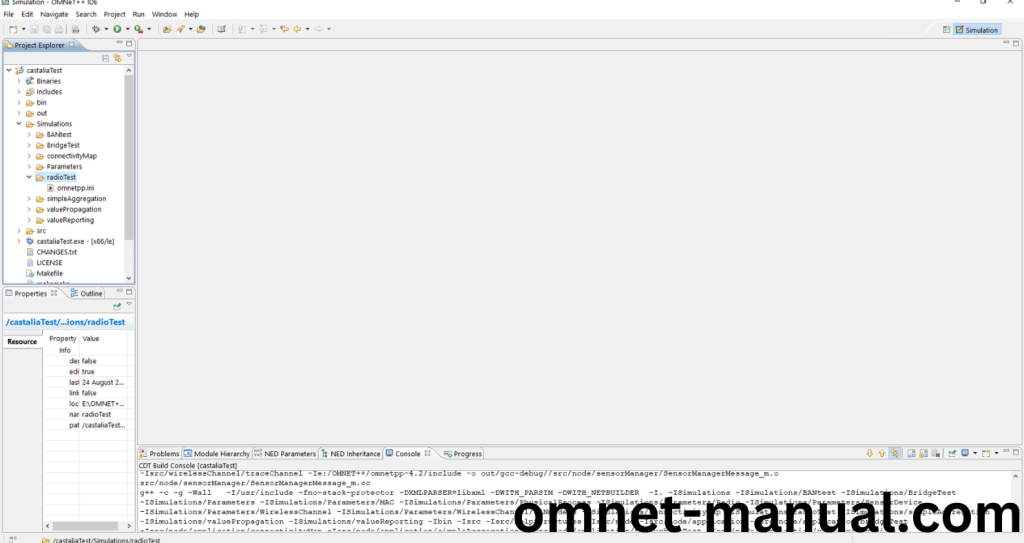
Next click the “omnetpp.ini” file and Configuration of the example Inet Program.
Screenshot:

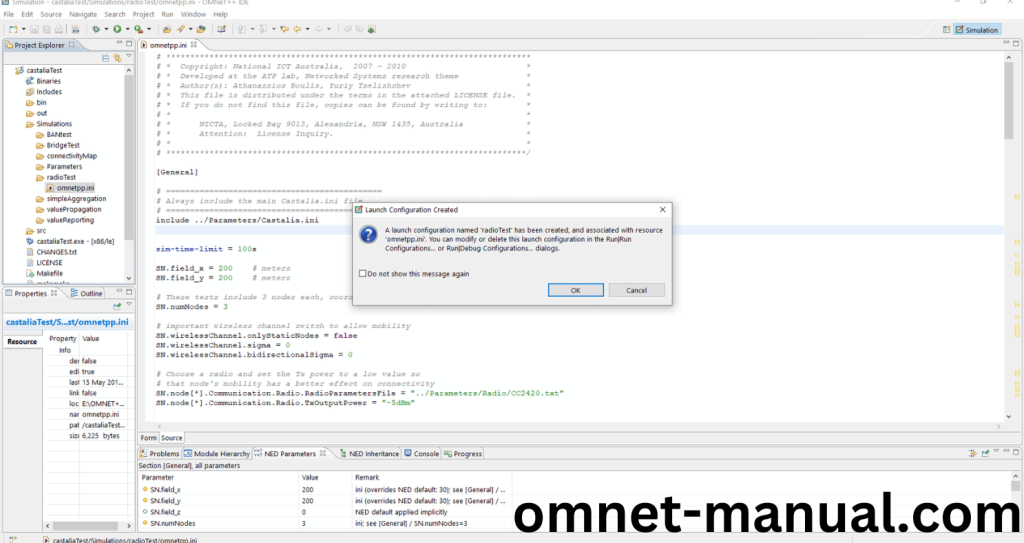
Next, Right Click the omnetpp.ini file, click the Run As and then Click the OMNeT++ Simulation.
Screenshot:
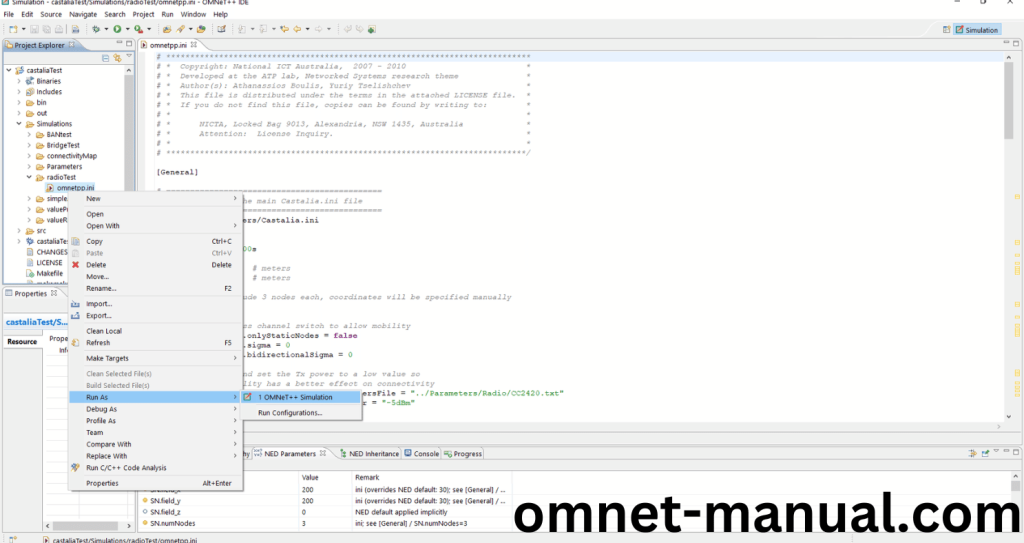
If you got any prompt, then Click the OK button to build and Simulate the Example program.
Screenshot:
Screenshot:
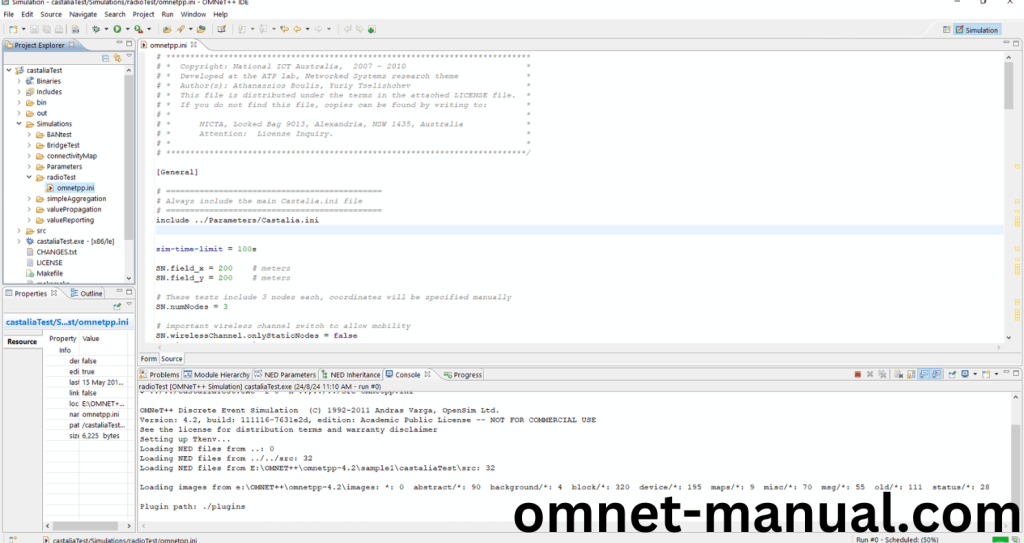
Click Any Configuration that you can simulate this example Castalia program.
Screenshot:

Screenshot:

Click the Run Button in the Omnet++ Ide to simulate the Example Program.
Screenshot:

Screenshot:
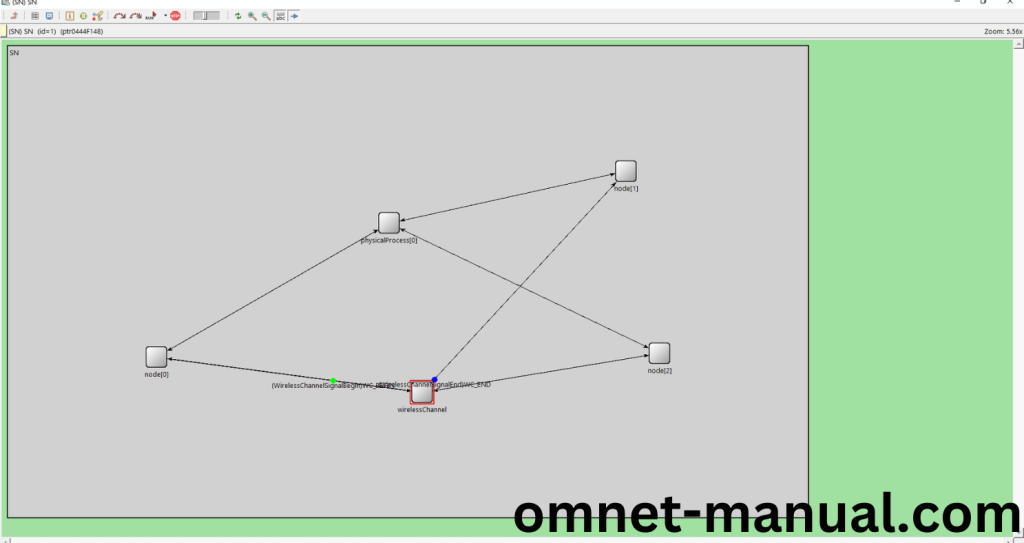
Simulation Completed Successfully Using the Castalia Example.
